Tips & Tricks
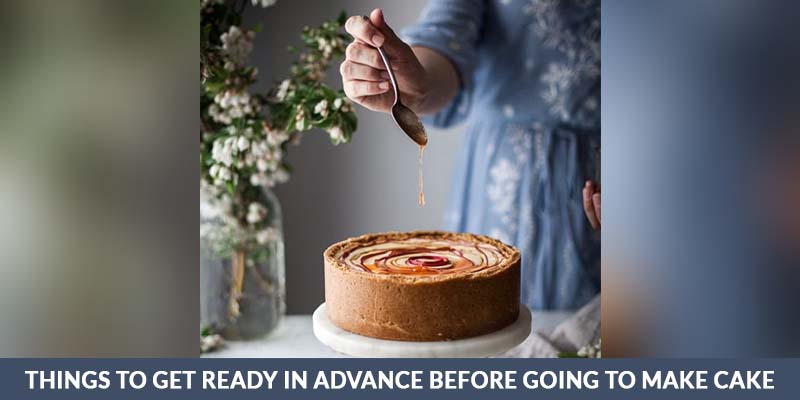
Things to Get Ready in Advance Before Going to Make Cake

Honestly, there are many things that you need to consider or at least analyse before setting on to bake a cake. Apart from shopping and arranging the basic and additional cake ingredients, there are quite a handful of things that need to be set, prepared, and acknowledged before you make the cake.
Here, in this blog, you are about to learn the basics and the essentials of baking a gorgeous cake.
This will include:
1. basic baking terminologies,
2. advance baking preparation tips, hacks and must-dos, and, last but not least,
3. the most important thing of all – baking utensil greasing (this is a very important step that you need to prepare in advance while baking a cake. This is the crucial step that ensures uniform baking and smooth transfer of the cake from the mould for cooling and presentation. Without proper grease pan preparation, your cake mix will not bake or might even end up burned!)
The first thing to learn, Basic baking terminologies
Before you begin baking, it is a good idea to know the vocabulary that goes along with all your favourite recipes. Baking is like learning to drive a car. You do not want to be yielding when you should be stopping.
1. First, let’s start at the beginning. You say that you want to bake something. What is baking anyway? It’s cooking food, whether covered or uncovered, using the indirect dry heat of an oven. That’s different from steaming food, which is a moist process—or cooking over an open flame, which is direct heat! If a recipe calls for the beating, you will be mixing more than one ingredient until it’s smooth. Don’t confuse that with whipping. Whipping is a fast process, usually using a whisk or electric mixer, and its purpose is to incorporate AIR and increase the volume.
2. Boiling involves heating liquids that overheat on top of the stove (or in the microwave) until bubbles form. If the fluid is water, it boils at 212 degrees Fahrenheit. On the other hand, Simmering is heating liquids over low heat until bubbles form, but they are below the surface. If muffins are the order of the day, folding will be involved. The vital part of folding is the word gentle. The goal is not to get a smooth consistency at the end. But instead, you want even distribution. Kneading is working the dough with the heel of your hand, pressing and folding it until it forms a consistent form.
3. Have you seen old recipes that call for a dash of pepper or salt? Today, there is a measuring spoon for those ingredients that require a dash. It’s 1/8 of a teaspoon. Perhaps you’ve been given a recipe that calls for a scant cup of something. There is no scant cup in the kitchenware department! A scant cup is not quite full. It’s not an exact measurement. But an approximate measurement would be 1 cup minus 1 Tablespoon.
4. Finally, if you are making a dessert, it may call for a particular type of garnish. A garnish can be anything that adds visual interest. It is a decoration of some sort, such as icing, nuts, fruits or edible flowers. A garnish can also be on other things besides dessert.
The second point, Advance baking prep essentials
1. Measure everything before you start. This would make life so much easier. Use the freshest ingredients that you can find. The freshest ingredients give the best taste.
2. Use the right size pan for your cake and prepare them as necessary. We will be covering this point in detail later. Please refer to the last segment of the blog for greasing techniques and tips.
3. Make sure that your oven shelf is at the right height. Preheat the oven while you prepare the batter (20 minutes before placing your batter in the oven). Use an oven thermometer if necessary.
4. Make sure you have your timer set so that you do not over bake your cake. Ensure the timer is ready and near your reach before baking.
Now the very last point, Baking utensil greasing
Whatever cake moulds you use, correct preparation is essential to ensure your finished cake lifts out quickly.
Cake pans or tins come in all shapes and sizes and different types. Do buy tins of good quality: thin containers can buckle and dent over time, spoiling the shape of your finished cake. There are three main types of cake mould; solid, springform and loose-base. The solid ones, as the name implies, are all of one piece. Springform tins can be unclipped after the baking to release the cake, loose-base containers have solid sides, but the base can be pushed up and out of the tin, bringing the finished cake with it.
Step one: Smear the whole interior of the tin with butter, lard, margarine or neutral-flavoured cooking oil. Make the greasing light, but thoroughly. The best tool for the job is your fingertips, but you could use a pastry brush or a wad of kitchen paper.
Step two: Put a spoonful or two of flour into the greased tin, rotate and shake it all around until all the fat has a light coating of flour. Tip out the excess flour, tapping the container as you do so.
The above instructions are good enough for most cakes, but you can also line the tin with baking parchment or greaseproof paper cut to size if you want extra insurance. If you are lining the pan and the base sides, hold the paper in place, then dab or two of the fat. Lining the tin will also protect delicate cakes, ensuring that the outer parts don’t catch and burn before the rest of the cake is cooked.
Additional cake baking advice:
Once the cake is baked, remove it from the oven and leave it for a few minutes until the cake contracts a little away from the sides. Put a plate over the cake pan, and, using a dry cloth or oven gloves, turn the tin and dish over upside-down. The tin should now easily lift away, and you can peel off the paper if used. The cake is now the wrong way up, so place a cake rack/grid over the cake, turn the whole lot over again, and remove the plate.
This thorough guide will help you prepare better for baking a cake and enable you to bake at a professional level with tips and guidelines. Have a fantastic baking session!


